Showing posts with label Tuesday Tutorial. Show all posts

Tuesday, June 5, 2012

Big Fat Bow Tutorial

How to make a Big Fat Bow.


1. cut a piece of fabric 13in x 11in


2. Fold it in half wrong side out and sew around the edges leaving a 2 in hole in the middle


3. Turn it inside out and sew closed the 2in hole, don't worry about having the stitches on the outside because they will be covered up anyway.


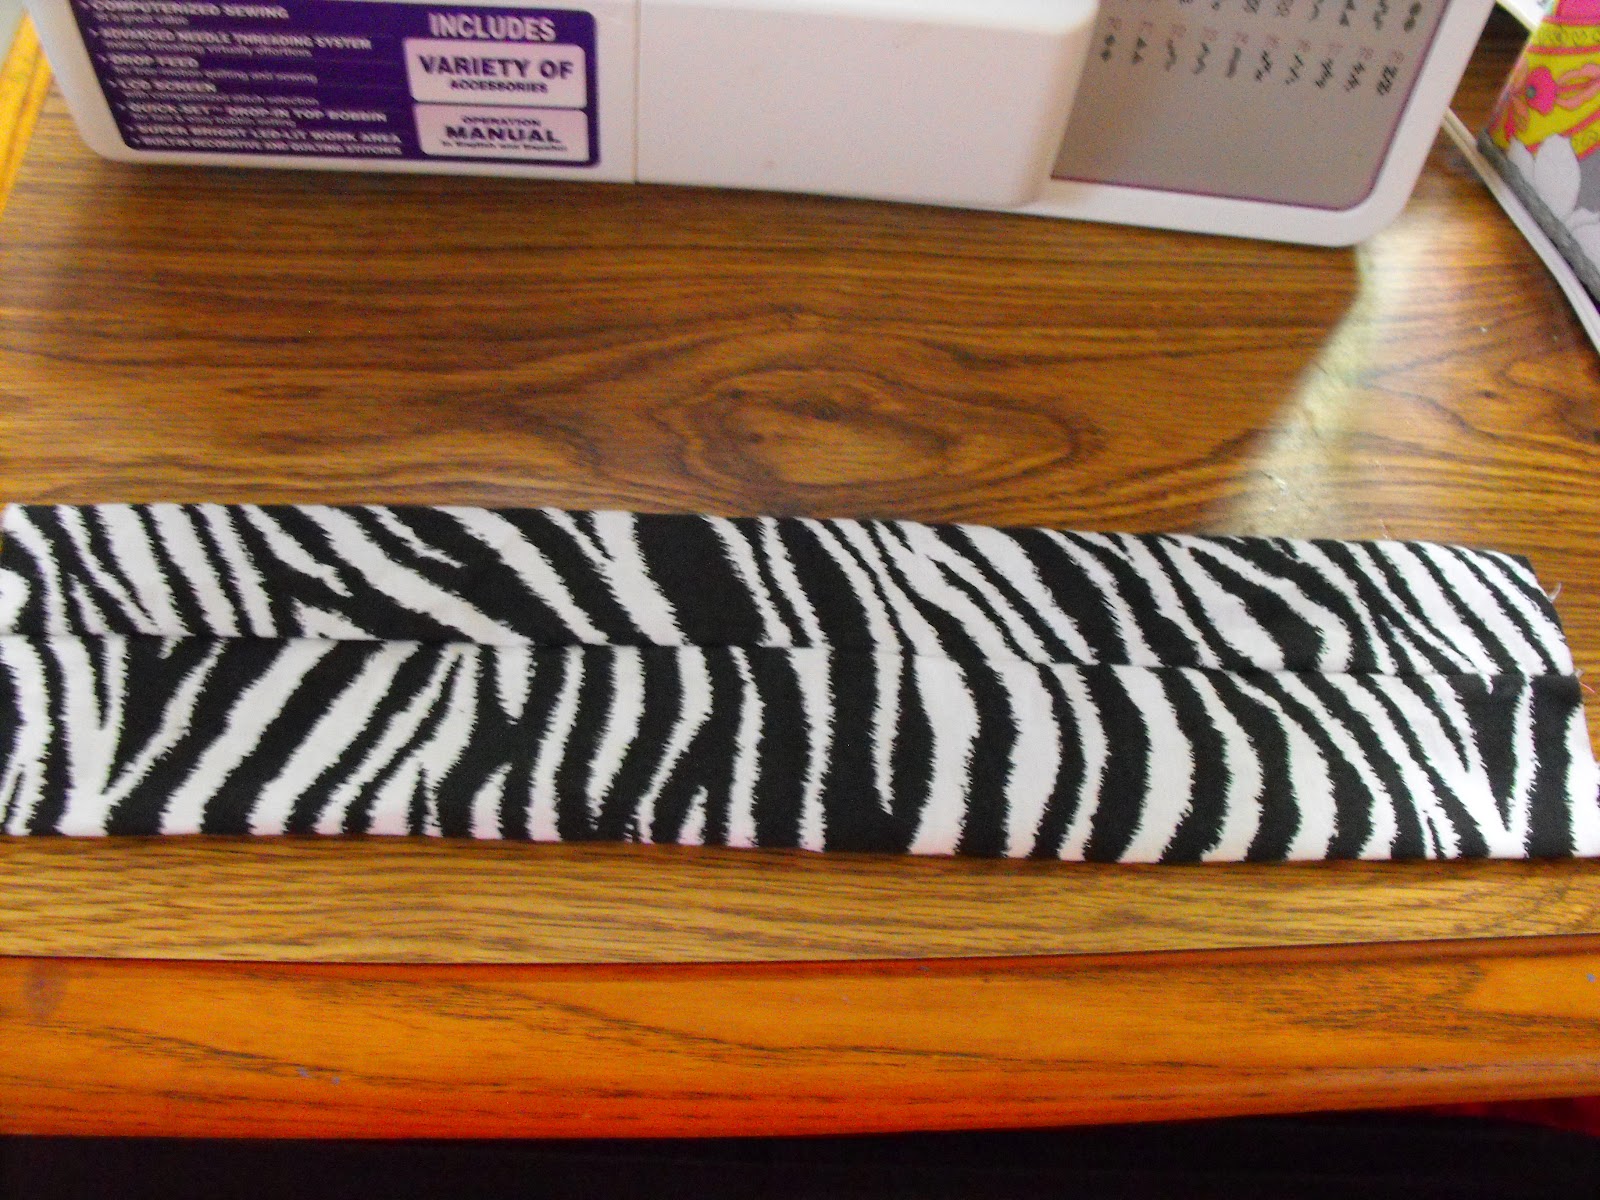
 4. Cut a piece of fabric13in x 8in. Fold it in half.

5. Sew down the long edge making a tube


6. Turn it right side out


 7. Fold in about 1/4 in on each end of the tube

 8. Sew them shut.


9. Tie the second piece you made around the first piece with just a single knot and you can adjust it so that it looks like a bow like this.


10. Attach to anything!


That's how I make my big bow! Stay tuned and I'll show you what I put this on.


Tuesday, May 29, 2012

Tuesday Tutorial: Mason Jar Coozy


Today I'm going to share another crochet pattern with you. I recently purchased a Cuppow. If you don't know what that is, you better find out and get yourself one ASAP. It's the best thing since sliced bread! No joke! I'm completely obsessed with it and use mine every day.

I got some pint sized wide mouth jars to use for coffee with my Cuppow and wanted to have something to keep my hand from being burnt AND keep my coffee warm longer so I crocheted a coozy! It fits on any pint-sized mason jar so feel free to use it for anything even if you don't have a Cuppow (but you still should get one!).

Start with a magic circle.
7 sc in magic circle
2 sc in each st around (14)
1 sc in next st and 2 in next st around (21)
1 sc in next 2 st and 2 in next st around (28)
Sc around (28)
Sc around in back loop only (blo) (28)
7-9 rows of hdc around (28) (until you get it as high as you'd like it)
Finish off by sc in next st, sl st in next and bind off. Sc around in contrasting color or sc around before binding off in the same color.

If you have questions, please don't hesitate to ask!


Monday, March 12, 2012

Fleece hat turned slippers

I don't think I can call this a tutorial but anyway I thought I would share with you what I did.


Here is a plain fleece hat, I don't remember where or why we had this hat but it didn't get worn because we all wear homemade and silly/cute hats in this house.


So I flattened it out and laid a pattern out on it. There was enough room for all the pattern pieces plus a scrap of extra.
 Here are the pieces
 Julie is especially proud of these because she "helped" me sew them. Since she no longer takes naps if I want to sew I have to find inventive ways to entertain her so she sat on my lap and I showed her where she could hold the fabric for me.


And then we added some puffy paint to the bottom for some traction.
Ignore the silly cat and airplane... puffy paint isn't easy to draw with ;)


Tuesday, February 21, 2012

Tuesday Tutorial - Mexico Market Bag


Here is a free pattern from Meighen.

The Mexico Market Bag


Inspired by the fishing nets around here and the street merchants everywhere.


K hook and baby/light weight yarn (number 2)


Row 1: 10hdc in magic circle
 Row 2: 2hdc in each hdc around (20)
 Row 3: 1hdc in first and 2hdc in next repeat around (30)
 Row 4: 1hdc in first 2 and 2hdc in third repeat around (40)
 Row 5: 1hdc in first 3 and 2hdc in fourth repeat around (50)
 Row 6: 1hdc in first 4 and 2hdc in fifth repeat around (60)
 Row 7: ch4 (counts as first tr throughout), tr in second sp from ch, *ch1, skip sp, tr in next sp *repeat around and join in 3rd ch of ch4 (30)


 Row 8-16: ch4, *tr in next ch sp, ch1 *repeat around and join in 3rd ch of ch4 (30)
 Row 17: ch1(does not count as hdc), 2hdc in ea ch1 sp (60)
 Row 18-19: ch1, hdc around (60)
 Row 20: ch1, hdc in same and next 9 sts, ch1, turn (10)
 Continue with 10 hdc turning each row until you have enough length for the strap. Count 20 sts from the beginning of the strap around the top of the bag and connect. You can use a sc, sl st, or a yarn needle. Whatever you prefer.


Tuesday, February 14, 2012

Crochet Pattern- Hooded Cowl


For this pattern you need:

          * Size P hook
          * 2 coordinating skeins of yarn, I used Red heart Soft White Fleck and Red Heart Primary. They need to be medium weight.

Use both yarns at the same time.

Ch 60.
Join in first chain.
row 1. ch2(counts as first dc), dc around, join.
row 2-4. ch2 (counts as first dc) dc around, join.
row 5. ch2, *decrease in the next 2 sts, dc* repeat * 8 times, dc across the rest, join.
row 6-12. ch2(counts as first dc), dc across, join.
row 13. *decrease in the next 2 sts, dc* repeat* across, join
row 14-18. ch2 dc across, join.
fasten off, weave in ends

email or comment with any questions!


You can wear it two ways


The small end is the top, the large end is the bottom.


Hope you all enjoy this pattern!


Tuesday, February 7, 2012

Tuesday Tutorial: Guitar Strap


Hi everyone! Today I'm going to share some quick instructions to make a super easy guitar strap. I screwed up and forgot to take pictures in the middle, but I hope my description helps. If not, let me know and I'm more than happy to help!

Here goes:


First, obtain a cheap guitar strap and remove the part pictured above in the top right photo so that it releases the old fabric and then take the whole thing apart (remembering how it was so you can put it back together).

Cut two strips of fabric that are 2.5" x 60" (you will likely have to piece the fabric together to get it that long - just make sure that it's about 60" long when you're done piecing together) and fusible fleece that is the same size.

I used printed fabric and a tshirt (if you use a tshirt, be sure when you sew to put the printed fabric down and use a ball point needle).


Place your two fabrics right sides together and iron the fleece onto one of them (I ironed mine onto the cotton) and pin it all together (using LOTS OF PINS).

Sew with a 1/4" seam allowance.


Turn your tube right side out, press, top stitch, then re-assemble your strap. Sandwich one end in the part of the leather/pleather you pulled apart and sew it back together, and then sew the other end in the middle ring (how it was before).

And there you have it. One fancy, schmancy guitar strap!


Tuesday, January 31, 2012

Super Simple Skirt Tutorial


The "Bob Bob" skirt. This is a very easy skirt to make, great sewing project for beginners.

The amount of fabric you need varies on the waist measurment. My daughter wears 24 months- 2T and she just turned 2 so I am giving you the measurments for her size, you should be able to easily adjust measurements all the way up to adult.

Her waist is 20in, I double that to get the width of the fabric. The length depends on how long you want the skirt to be. Keep in mind making a casing for the elastic. So I want her skirt to go past her knees which is 12 inches, so main fabric is 12 inches but the band is 3 inches wide.


Put your band of fabric right sides together at the bottom of your main fabric, if your main fabric has pictures like mine does, make sure the pictures are right side up.

 Sew along the edge of the fabrics, when you are done it should look like this


I pressed open the seam

Now make a hem at the bottom by first folding in and pressing 1/4 in


Fold and press again another 1/4 in


Sew the hem

It sould look like this, not crooked like mine though, I'm not sure why I snapped a pic of a place that wasn't straight haha!


Now making a casing for the elastic at the top fold over and press 1/4 in


Now fold over and press, my elastic was 3/4 in so I went with an inch here. Make it a tad bigger than your elastic.


Sew it, make sure its at the bottom, just remember you are shoving elastic through that hole


Now with a saftey pin on one end of the elastic shove it all the way through, make sure you don't lose your other end of elastic.


 Sew the ends together, sew back and forth a couple times so that its secure


Now with right sides of your fabric together sew all the way down.


Done. So easy, it takes about 30 minutes to whip up one of these.


If you have any questions feel free to comment or email me!

Also, Please go vote for your favorite project in Project Recycle!

Project Recycled