Monday, August 27, 2012

London Calling?

I recently passed the Notary Exam (I work for attorneys so it's a need, really) and wanted something cute to store my notarial supplies in at my desk at work (and so they would be easily transportable if I need them elsewhere) so I found this great Noodlehead tutorial (by way of Pink Stitches) and decided to cut into my beloved London Tube in Multi fabric by Timeless Treasures House Designers to create my new pouch.


I used a zipper I got from a cheap pack at Joann's. It has adhesive on it and I will not be using another one of these for this kind of pouch. I had to pull the adhesive off the end so I could have that tab part and it was A PAIN. I have a plethora of zippers...somewhere (yes, still unpacking!) and I need to find them to use instead of those. These zippers are great to use for regular zippy pouches, though!

The art in the background there is a print I won from Bees Knees Design Shop. It's a picture of JJ and the text says "So many of my smiles begin with you." I also used Bees Knees for my Christmas Cards (last one in the post) last year. Check out her stuff!!


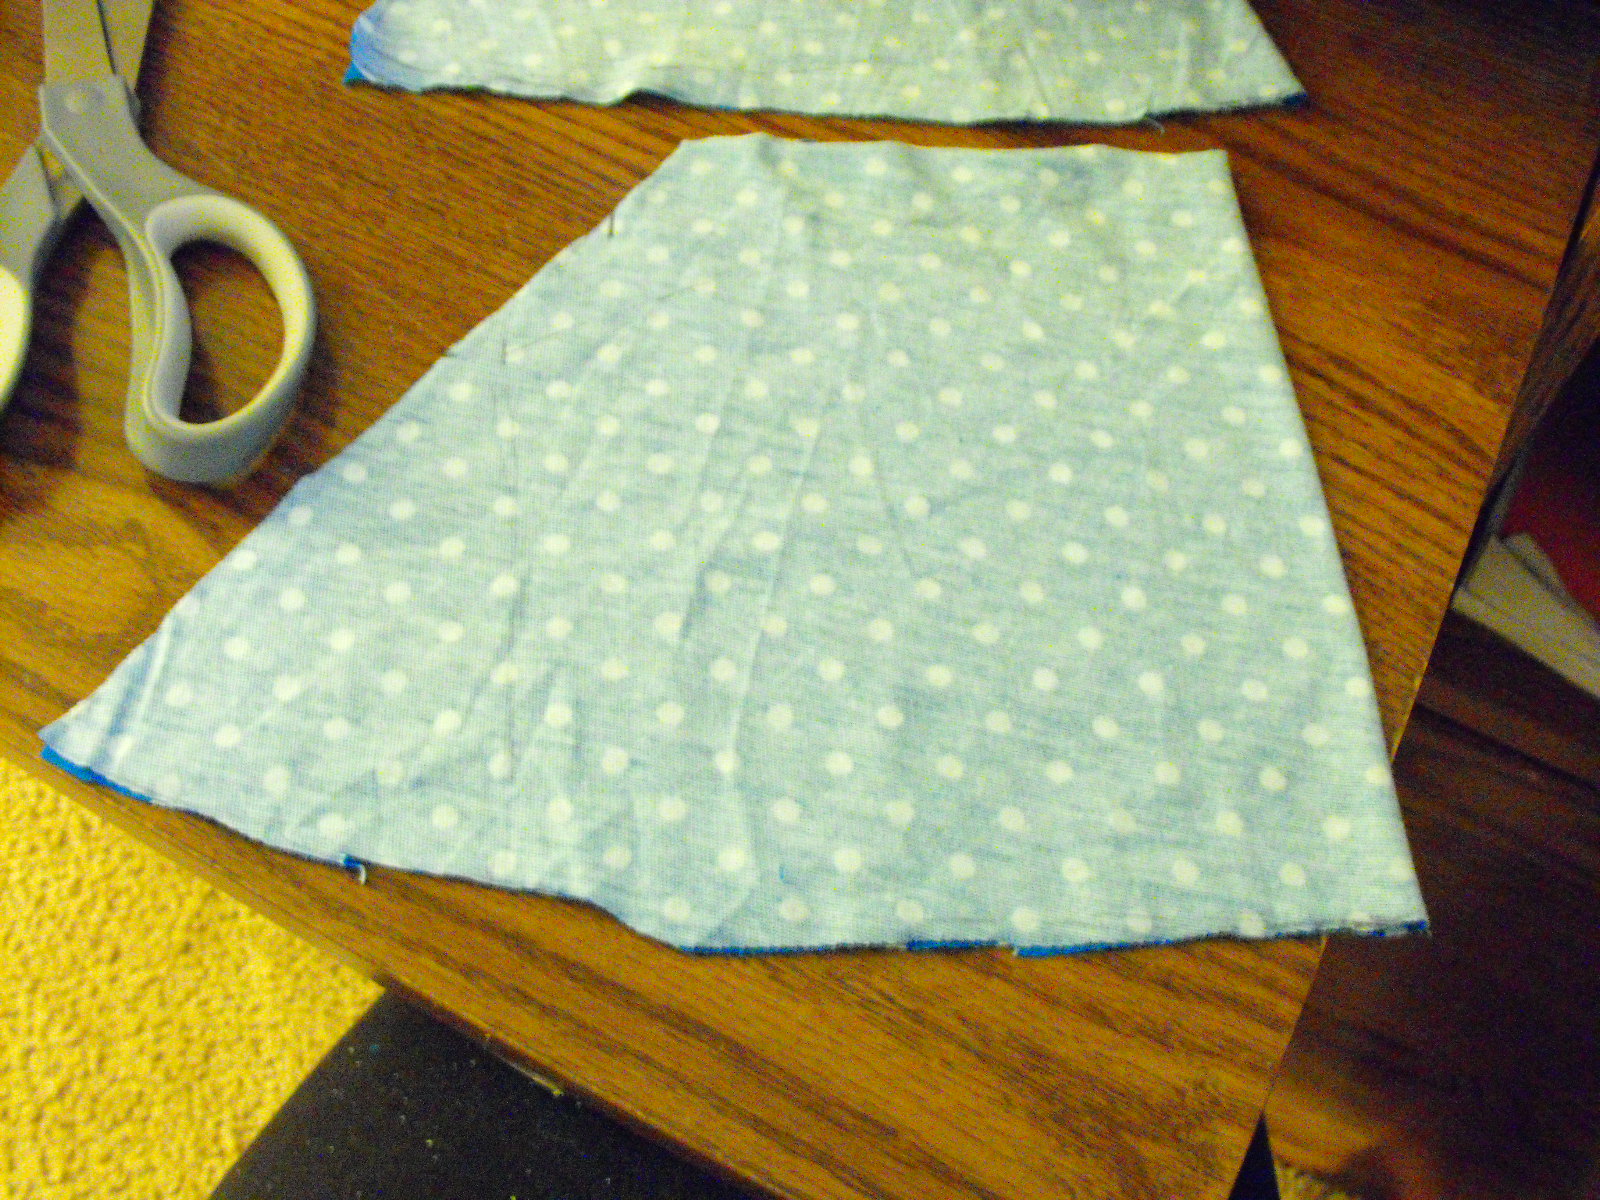
I used yellow and white polka-dots fabric from Joann's. It's leftover from when I made my Peggy Skirt (which didn't work out so well and it's sitting on my table waiting to be fixed). I intended for the dots to be the liner and the map to be the exterior but mussed it up a bit. Maybe it's destiny because I really prefer it this way.

I plan on making the other two sizes and probably another one this size so I have a full set at home and this little guy for work. I just love that Tube Map fabric!!


Sunday, August 26, 2012

Tape Measure Pouch

I have been meaning to try this for a while. You can use an old (or dollar store) tape measure to make a pop open and close pouch!

Got the idea here.


                                     I had some fun making random pleats on the teal fabric.


This is a great stash busting project.


I love it! if you love it get it here.

Have a great week everyone!


Linking up here:


Saturday, August 25, 2012

My first dress using a pattern!

I have been scared of dress patterns for a while. Sometimes I feel like they are written in another language or something, so I stayed away. This one was pretty simple and it only took me one night of sewing next to BFF, with her reading me step by step of course!


I got the fabric for .50 cents a yard at Walmart.


I added pockets because pockets are awesome!


Sadly my eyes are closed in this picture but I decided to share it anyway because it has my little sweetie.

Pattern here.

I love how it turned out and I have more confidence to try another pattern and use this one again.


Tea. Earl Grey. Hot.

I finally finished a number of commissioned projects (that I totally forgot to photograph so I'll do that ASAP and share with you - promise!!) and wanted to make something for myself. I had purchased 10x10 canvasses a while ago for another project but decided I wanted to use 8x10 flat canvasses so they've been sitting here, waiting to be loved.

It's no secret that I love Star Trek: The Next Generation. I also love tea. Earl Grey, to be exact. I took the phrase that Captain Picard says to the replicator 'Tea. Earl Grey. Hot.' and stenciled it on the canvas and then found a picture (took forever!) of one of the cups they used for tea on the show and put it in the corner (I shaded the back of the paper with pencil then traced over the lines on the front with pencil and pressure and that caused light lines to appear on the canvas - then I painted over them).


I love it. Turquoise and slate grey. LOVE!

It's not perfect, but I love it. I have plans for another arty-tea piece, but need to get cracking on my laundry.

Hope you all have a great weekend!!


Positively Splendid

Wednesday, August 22, 2012

Triflin'


One of my good friends had a birthday last week and her housemate is out of town for work this week so she invited me over for dinner. I wanted to make her a little bit of cake for dessert so I whipped up this trifle. I'm sure there's a recipe out there similar to it, but I didn't use one other than the recipe for the cake (which I altered slightly). 

Chocolate Chip Whipped Trifle

Ingredients:
3c whipped cream (or one 8oz container of Cool Whip)
1 large (5.1oz) box of Jello Instant Chocolate Pudding
2.5 c milk
Chocolate chip cake (recipe to follow)

Chocolate Chip Cake:
1/2c cocoa powder
1c boiling water
1 1/3c all purpose flour
2tsp baking powder
1/4tsp salt
1/2c unsalted butter (room temp)
1c sugar
2 large eggs
2tsp pure vanilla extract
1c chocolate chips

Preheat oven to 375 degrees F and lightly butter or grease your cake pan (I used my Pampered Chef Rectangular Baker but any 13x9 pan will do).
In a small bowl stir boiling water and cocoa powder until smooth. Let cool to room temperature.
In another bowl combine flour, baking powder, and salt.
In the bowl of your electric mixer (or with a hand mixer), beat the butter and sugar until light and fluffy. Add the eggs one at a time, beating until smooth. Scrape down the sides of the bowl as needed. Beat in the vanilla and add the flour mixture and beat only until incorporated (I did this in 1/4c increments). Add the cooled cocoa mixture and stir until smooth. Add in chocolate chips. 
Pour into baking pan and bake for about 15-20 minutes (checking often). It's done when you can insert and remove a toothpick cleanly.

When the cake is done and completely cooled, cut it up into 1x1 inch cubes (or thereabouts - doesn't have to be exact). 

Prepare pudding with the 2.5c milk (use less milk so it's thicker). Combine 1/2 of the pudding with 1/2 of the whipped cream and place a layer of cubed cake on the bottom of your bowl, top with the pudding/whipped cream mixture, place another layer of cake, top with remaining pudding, place another layer of cake, and top with remaining whipped cream.

Chill & enjoy!

Trifles are one of my favorite desserts, probably because it originated in the UK. :)


Friday, August 17, 2012

Origami Lotus Bag

Last week I whipped up this bag for a bridal shower. It comes together fast and easy and its unique. I found the tutorial here and I can't wait to make myself one.

 
This size holds two skeins of yarn and the bride who received it said its the perfect size for the pair of socks she is knitting.


I hope you like it and I'll definitely share the next one I make in my colors. Have a good weekend everyone!


Wednesday, August 15, 2012

Toddler Bell Bottom Yoga Pants

I found this bright blue with white polka dot fabric and I knew immediately I wanted to make some pants for my little Julie.


I made the pattern with a pair of pants that fit a tiny bit big, its summer so we aren't wearing many pants so I am hoping these fit for a while.

I laid the pants on freezer paper, traced them and added seam allowance. Cut the pattern out of the freezer paper and then I can keep that to use in the future. I made this pattern piece only just below the knee and a separate piece for the flared out bottom.


There is my pattern laid out on the fabric. Below is the bottom piece of each pant leg. The top shorter side should be the same size as the bottom of the pants where they meet.


Here is how I attached.


The flared piece inside out, pants right side out and sew around.

For the waist band you could make a casing and use elastic or do a yoga type like I did, basically cutting a strip of fabric so that its about 1 in shorter than the waist measurement and attaching to the top. I would try them on before adding the waist band just in case you need to add a dart to the back.

Hem the bottoms and you are done.


I hope you like them! I actually made a pair for myself too, but I am not sure I have the guts to show you the picture... I may have used pink tie dye fabric.... lets just say I don't leave the house in them! Super comfy though :)

Also, there is a new linky party called WKWW (What kids wore Wednesday) I am linking up there today and I encourage you to do them same or see what other cute kiddos are wearing.


Have a great day everyone!


Monday, August 13, 2012

Winner Winner, Chicken Dinner!

Caja de Muertos - island off the coast of Puerto Rico
Our winner for our blogiversary giveaway as decided by random.org is NGS! She said that Minneapolis is her favorite place because that's where she met and married her husband. Great memories!!

Thanks to everyone who shared their favorite places in the world! It was so fun to read all your comments and hear about the places you love. We appreciate your entries!

We hope you'll come back and check us out from time to time and see what's new around here!


Saturday, August 11, 2012

A patchy bag

Today I am going to share with you a bag I made for times that I need two hands available at all times. What I mean is, I don't need the thing falling off my shoulder, It cant be heavy, and it should carry just necessities. Summer brings yard sales, zoo trips, and walks all over. I need something that went across my body and could put my keys, wallet and cellphone in easy access while still holding the little ones hand.

 I actually started with a piece of paper, I knew that's about the size I wanted the bag so I took a piece of printer paper and drew out how I wanted to piece together the fabric. I then just cut the strips of fabric to match the shapes I drew on the paper plus some seam allowance.


After I had the fabric sewn together I some doily and lace scrap and top stitched them on. I basically made a large zipper pouch and added a long strap. Its that simple I made it in a little over an hour the night before we went to Deer Park.


Here is my family at Deer Park in Pennsylvania. It was a day of funny animals, rain, and more rain.

Thanks for stopping by, there is still time to enter our giveaway here.


Saturday, August 4, 2012

One Year!!

Giveaway closed! Thanks for your entries!

It has been one year since we started this blog & our shop! We can't believe it's been a year since we started this adventure and we have learned so much in the last 366 days! Tonight we celebrated with cake. :) We made a pink lemonade cake with lemon whipped cream icing. (Brandi will post the recipe later for your cooking adventures.)


We wanted to celebrate our first anniversary with you by having a little giveaway. We're going to make up a personalized State Tote and put some really great things inside of it and send it to the winner.

Our first personalized header.

We want to thank all our family, friends, and fantastic followers (alliteration, baby!) for everything you've done for us and with us this last year. Thank you for your support, strength, and love!

To enter please leave a comment below (or on the corresponding Facebook post) telling us your favorite place in the world along with your email address or some other way to get a hold of you. Brandi's is Animal Kingdom in Disneyworld and Meig's is Edinburgh, Scotland.

Good luck!!

 &