

I love cooking. I especially love to cook wholesome meals as part of my new philosophy on life: try it once. I just started back to work about 3 months ago (after 6 months on unemployment - eep!) and between church, work, family, friends, Crafty Girl Squared, and my pets, life is just so busy that I sometimes forget to eat! I decided that I need to start planning meals, especially because I can take leftovers for lunch and that will seriously simplify my life. I saw a menu board on Etsy and liked it, but it wasn't exactly what I wanted. So I made my own. :) Now I am able to plan meals and go grocery shopping and have it all organized so that I can start to incorporate other ways of eating (vegetarian, vegan, etc.) into my diet with ease.
I used cardstock for the stencil and learned that is not the best medium to use. If I did this again I would use something that has adhesive on one side and isn't so porous. Possibly vinyl or some other kind of sticker. I wonder if Freezer Paper would work? Hmmmm. Nevertheless, my letters are a little messy, but that's ok - it reminds me that nothing is perfect.
Check it:
Things you need:
Paint
Paintbrush
Stenciling material (whatever you choose - I'd either use real stencils or something that fully sticks to the board but is not very porous. Like vinyl or a label/sticker.)
Ruler
Dry Erase Board (the one I got is one of the magnetic/wet and dry erase boards)

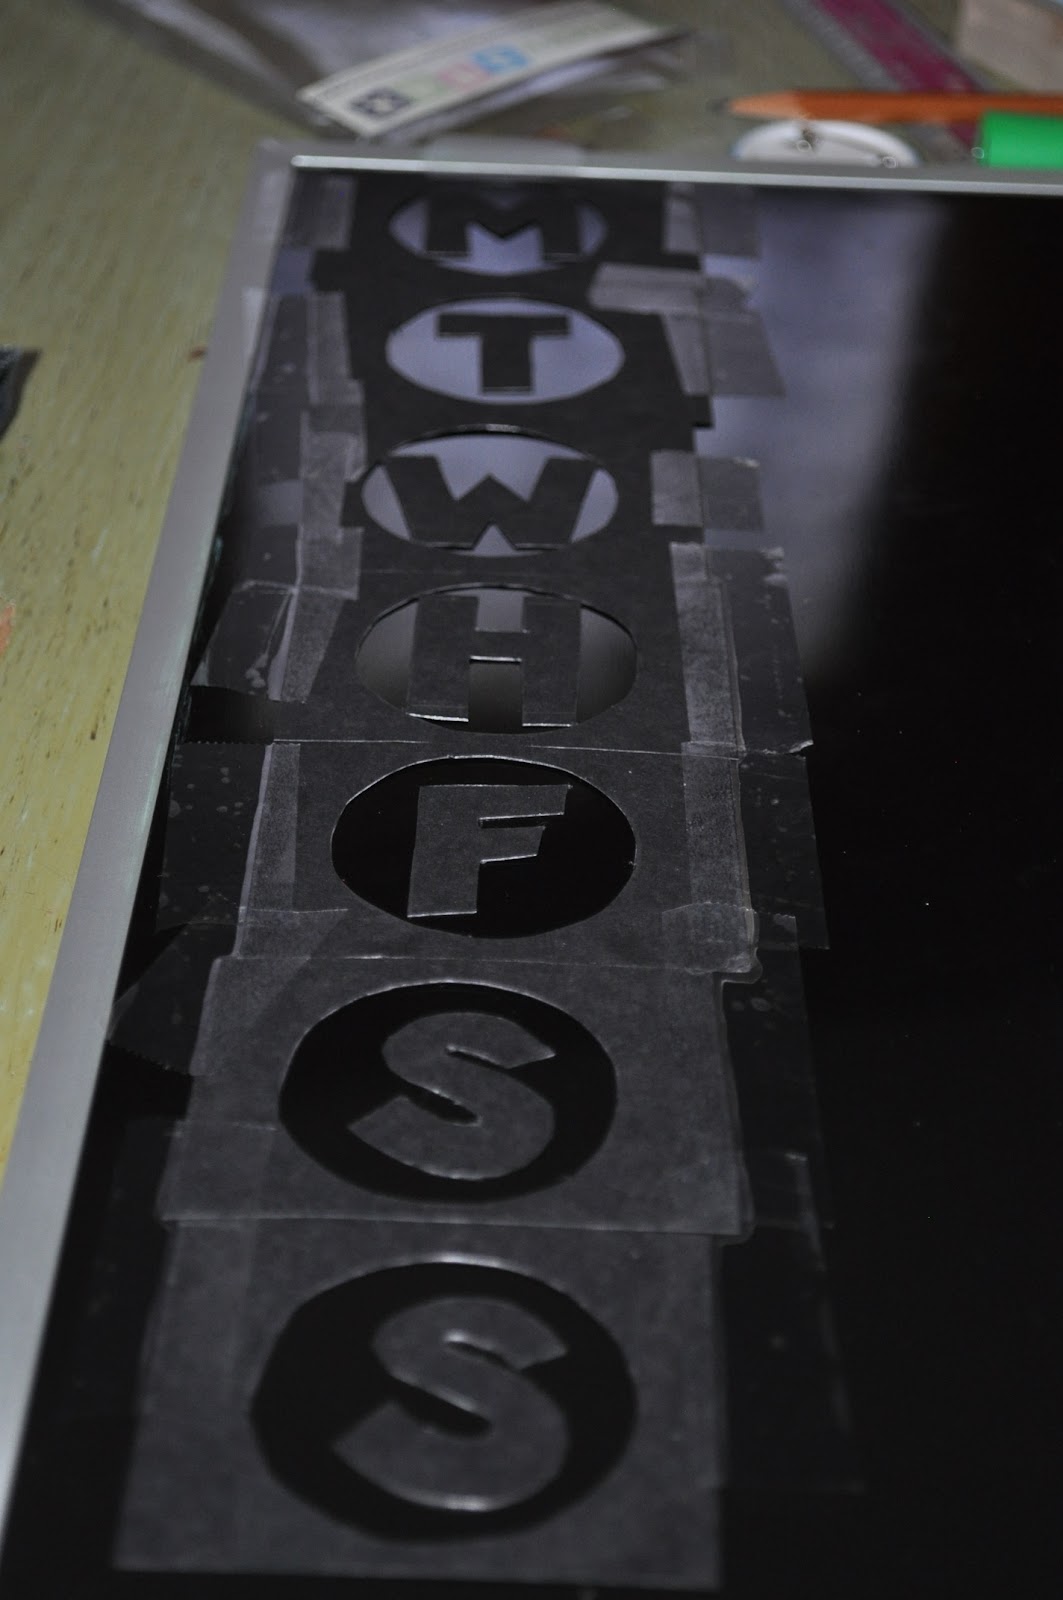
First, I traced the button and then traced the letter inside of it. I cut the letter out, but kept the circle in tact.


See here: All the letters traced.

Then I taped them all to the dry erase board and got ready to paint. Some of the letters (like the F) didn't have enough on the edges to be one continuous piece so I used double stick tape to adhere the letter to the board. I discovered that got a better seal and next time I'll use a sticker, freezer paper, or vinyl for this project. Nevertheless:
Then you paint over the stencils, remove the pieces, and voila!


Right now it has the Thanksgiving dinner list on it (what I'm making) and attached to it with the magnets are a couple recipes and my shopping list. This hangs in my kitchen in my 'breakfast nook' so that I have easy access to it and I absolutely love how well it turned out! This whole ordeal ended up costing me a whopping: $15.00. Yep! I was able to buy a nicer dry erase board because I had all the other supplies on hand.
I hope you all enjoyed our first Tutorial Tuesday! There will be more coming in the future.
Also: make sure you sign up for our giveaway! You have just a little over a week to sign up!

No comments:
Post a Comment